.avif)


Recent Blogs
Stay updated with our latest blog posts.

Hot water tank installation is a critical project that ensures your family has reliable access to hot water. While it involves electricity, plumbing, and heavy equipment, following proper safety and installation steps is key to success.
Essential Steps for Hot Water Tank Installation:
Most tank-type water heaters last 8-12 years, so replacement is necessary when you see signs like rusty water, strange noises, leaks, or inconsistent heating. Electric hot water tanks typically last between 8 and 15 years with proper maintenance.
Important safety note: This project involves electrical work and heavy lifting. Always turn off power at the circuit breaker before beginning. Consider hiring a professional if you're uncomfortable with any aspect of the installation.
I'm Tony Lara, an HVAC professional with experience in hot water tank installation and repair in the San Jose Bay Area. My background in troubleshooting complex HVAC systems provides deep insight into proper installation techniques for long-lasting, efficient operation.

Proper preparation is essential before starting your hot water tank installation. This phase involves confirming if replacement is necessary, selecting the right unit, gathering supplies, and ensuring all safety measures are in place. Planning now prevents headaches later.
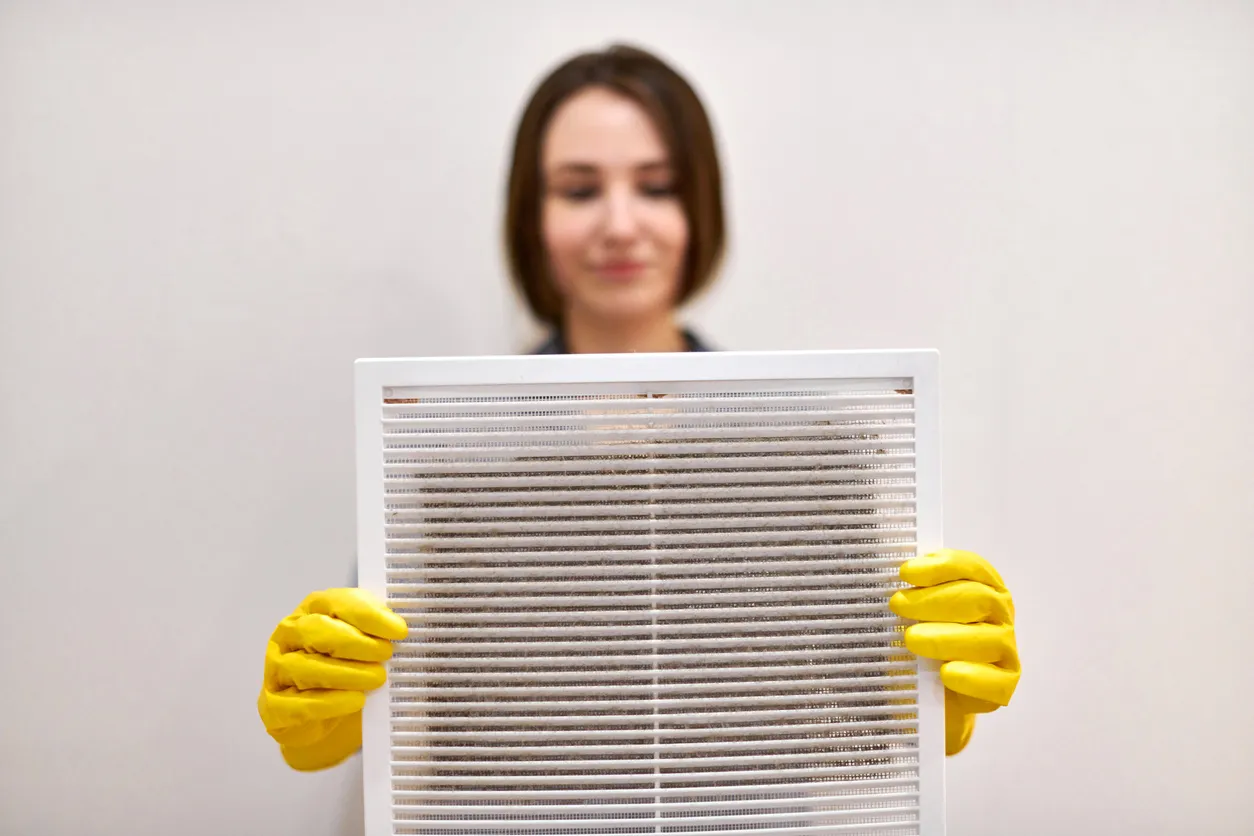
Recognizing these warning signs can save you from a surprise cold shower.
For those considering alternatives, our guide on when to consider tankless water heater replacement offers valuable insights.
Selecting the right unit is crucial for long-term satisfaction.
Gathering all your tools and materials beforehand ensures a smooth hot water tank installation.
Safety is essential for any hot water tank installation. This project involves electricity, plumbing, and heavy equipment, so take proper precautions.
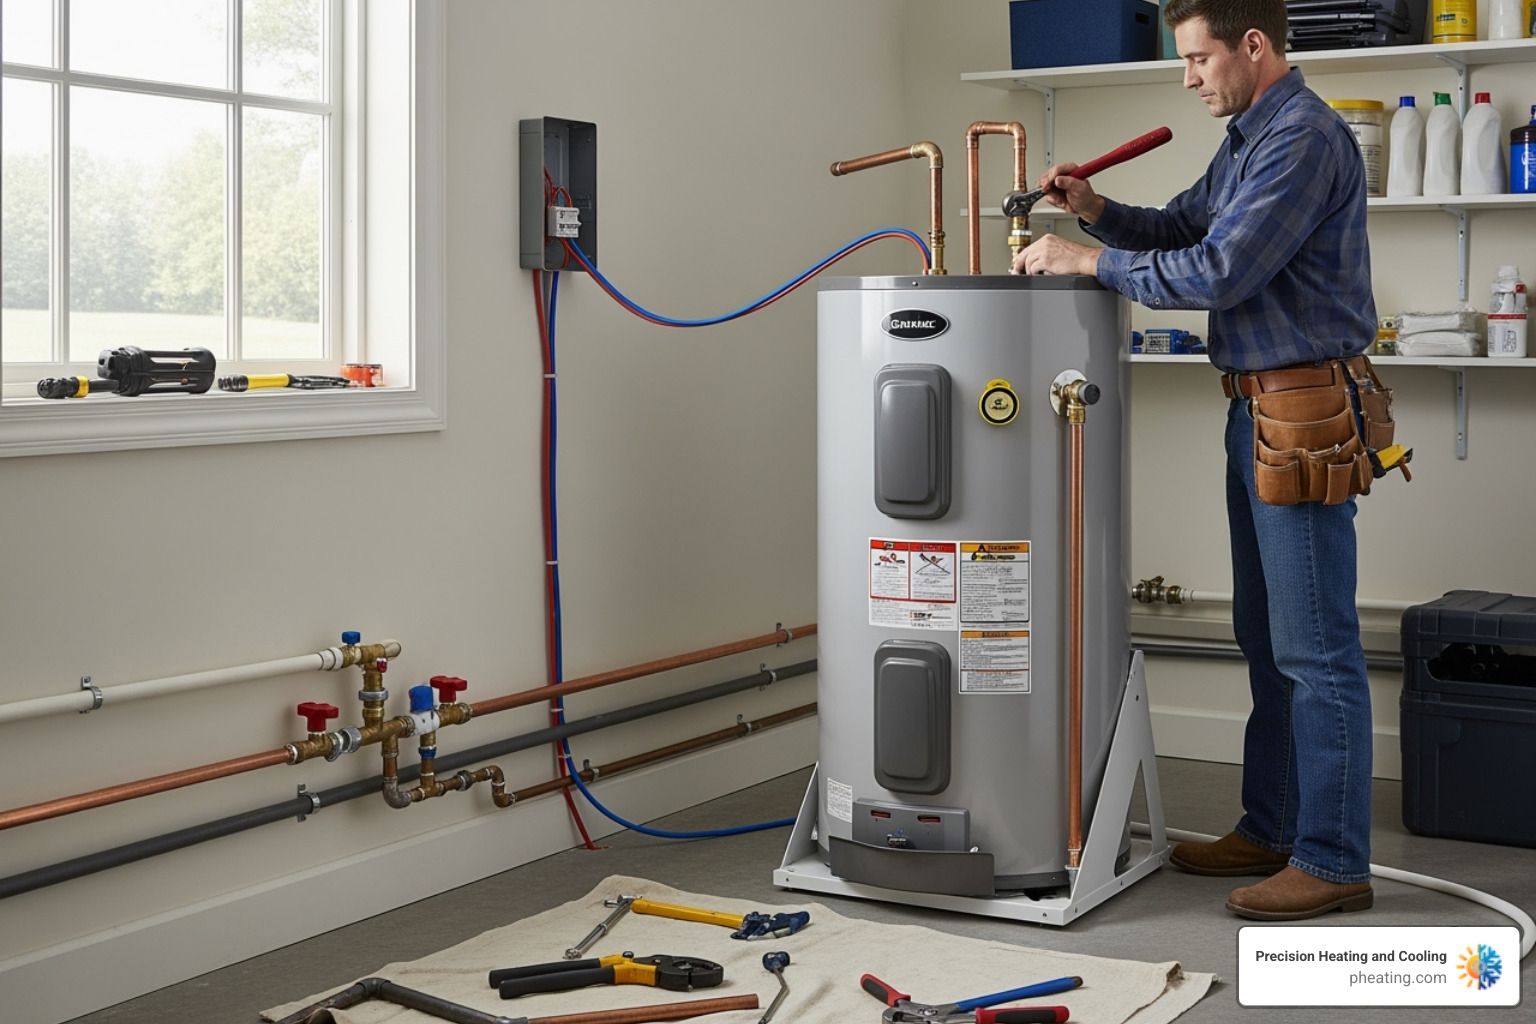
With preparation complete, it's time for your hot water tank installation. Following these steps carefully ensures your new electric water heater is installed correctly and safely for years of reliable hot water.

This step requires patience and care.
Properly positioning your new water heater is critical for performance and longevity.
Next, make the vital water connections.
This step requires extreme caution. Follow these instructions precisely.

These final steps turn your hot water tank installation project into a reliable home comfort. Patience here prevents future headaches.

Before restoring power, you must fill the tank and check for leaks. Never power on an empty tank, as this will instantly destroy the heating elements.
Your new heater is ready for power.
If you encounter issues, these fixes may help.
For persistent issues, our guide on common water heater repair issues and solutions can help. If you're in the San Jose area, our team offers reliable water heater repair services.
Deciding between a DIY hot water tank installation and calling a professional is a common homeowner dilemma. While DIY can be rewarding, it's important to know your limits.

The main draws of DIY are cost savings on labor and the sense of accomplishment. However, this project requires significant plumbing and electrical expertise, the right tools, and confidence working with 240-volt electricity and pressurized water. The safety risks are significant. Incorrect wiring can cause fires or electrocution, while bad plumbing can lead to floods. With DIY, there is no labor warranty, so you are responsible for any mistakes. Navigating building codes and permits can also be difficult and skipping this step can lead to fines.
While a simple swap may be DIY-friendly, calling a professional for your hot water tank installation is essential in many cases.
If you're in the San Jose Bay Area, we serve homeowners throughout San Jose, Palo Alto, and Cupertino.
Hiring a professional for your hot water tank installation is an investment in expertise, safety, and peace of mind.
For a detailed look at what this involves, check our guide on Steps to a successful water heater installation.
Most tank-style water heaters last 8-12 years. Regular maintenance, like flushing sediment, can extend this, but it's wise to consider replacement around the 10-year mark to prevent unexpected failure and water damage. Electric hot water tanks can last up to 15 years, while tankless water heaters can last 15-20 years.
A traditional tank water heater stores and keeps 40-80 gallons of water hot. A tankless water heater, or on-demand unit, heats water instantly as you need it. This eliminates standby heat loss, making it up to 30% more energy-efficient. While tankless units have a higher upfront cost, they provide endless hot water and long-term energy savings. Tank heaters are simpler to install as a direct replacement.
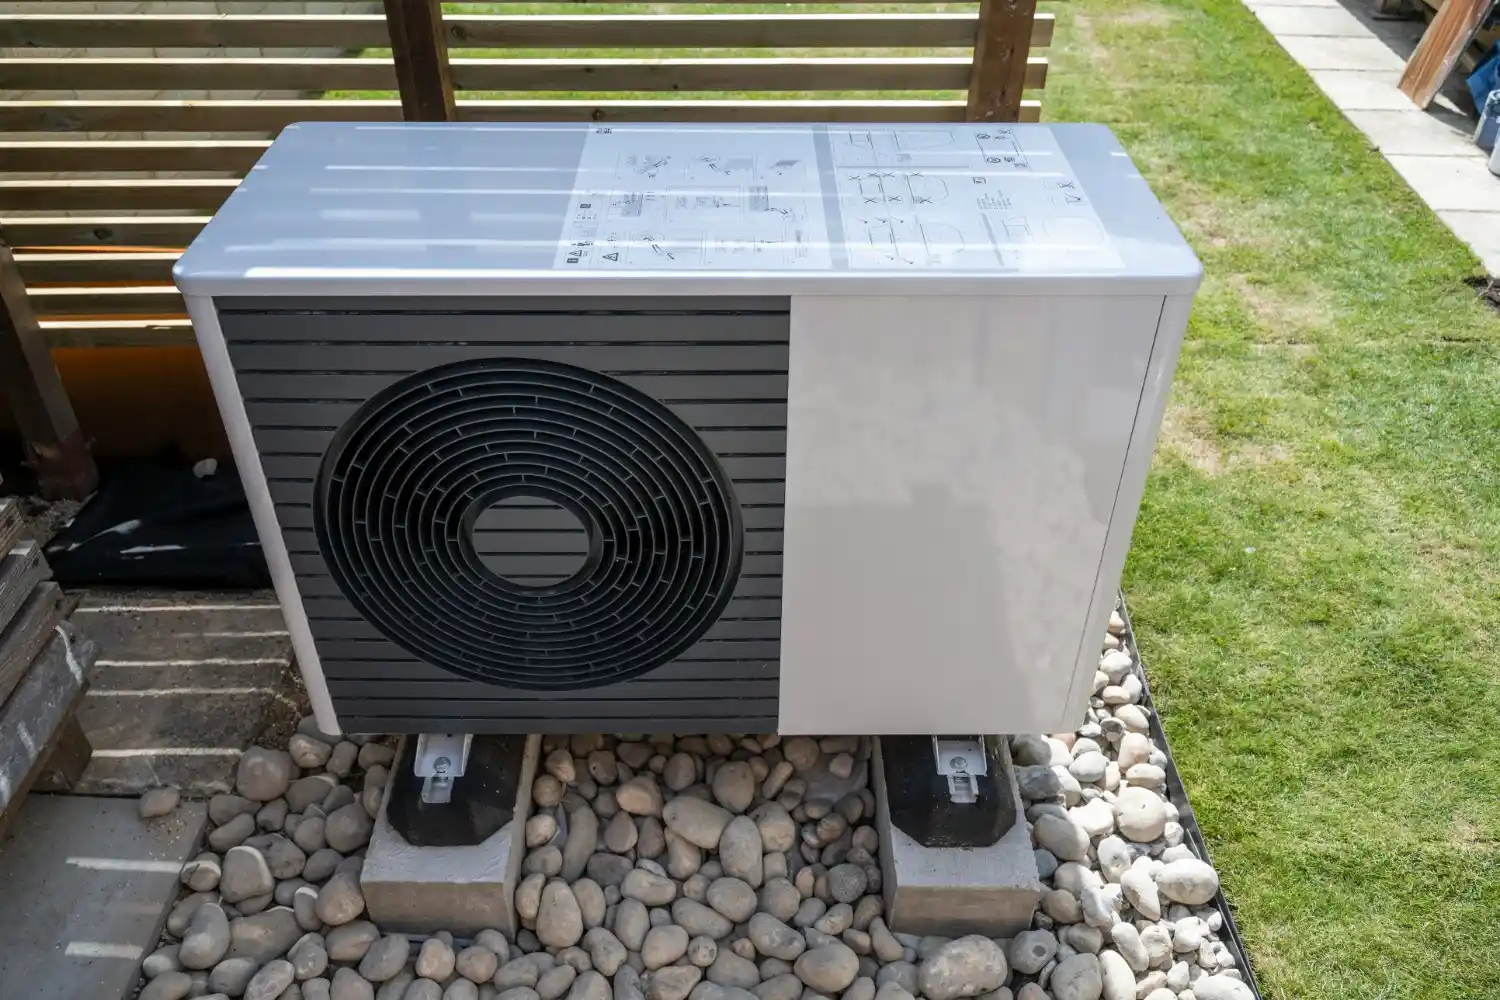
Yes, many utility companies and government programs offer rebates for installing energy-efficient models, especially ENERGY STAR® certified water heaters and heat pump water heaters. These incentives can significantly reduce the cost of your upgrade. Check with your local utility provider before your hot water tank installation to see what's available in your area.
This choice depends on your financial preferences. Lease-to-own plans offer a low upfront cost and often include maintenance and repairs in a predictable monthly payment, providing peace of mind. Purchasing outright requires a larger initial investment for the unit and hot water tank installation but typically results in lower long-term costs. However, you are responsible for all future repairs after the warranty expires. A lease-to-own plan can be a practical solution for an unexpected replacement without a large upfront expense.
A successful hot water tank installation is a key home improvement project that ensures reliable hot water for your family's comfort for years to come. This guide covered recognizing replacement signs, selecting the right unit, preparation, and the detailed installation process.
The final testing phase is crucial. Properly filling the tank, checking for leaks, and setting the thermostat correctly ensures years of trouble-free operation. Safety is paramount when working with electricity and pressurized water. If you are ever uncertain, calling a professional is the smart and safe choice.
The decision between DIY installation and professional service depends on your skill and the project's complexity. While simple replacements may be DIY-friendly, complex jobs involving code compliance or system modifications benefit from professional expertise.
For over two decades, Precision Heating and Cooling has provided professional installations and expert service to families in the San Jose Bay Area & Central Valley. We bring decades of experience and a commitment to quality to every project, ensuring your home's comfort systems are in good hands.
Whether you need an emergency replacement or a planned upgrade, our professional guidance ensures your hot water tank installation meets all safety and code standards. For expert assistance with your water heater replacement in San Jose, contact our team today for reliable hot water and peace of mind.

Leslie was amazing for her outstanding customer service skills with me the other day. Thanks to her help my air conditioner is now all set up. She answered all my questions and took away all my problems. Leslie broke it down step by step to set it up easier. Now thanks to her my air conditioner is working perfectly. I really appreciate it Leslie and I’ll be sure to ask for you if I ever come back.
I contacted Precision Heating and Cooling for my home's AC repair. They were punctual and very professional. Guillermo was very kind and thorough. I would highly recommend them!
I am writing to express my sincere appreciation for the excellent work performed by Pablo and Alejandro from Precision Heating and Cooling. Their commitment to quality and customer satisfaction is truly commendable. Awesome job guys!
I would like to extend my sincere gratitude to Alejandro for his exceptional hard work. His passion for helping others is evident, and he consistently goes above and beyond in his service. Alejandro's thorough cleaning of my fireplace has truly made a significant difference. His dedication and professionalism are greatly appreciated.
I was very impressed. Came at night (after 9pm) to fix our AC during the middle of a heat wave the day before a national holiday! Technician was very courteous and efficient, got the job done quickly. Will definitely call them again for any AC servicing I need!
Fast and efficient, arrived when scheduled for repairs and replacement parts were ordered and installed quickly. Techs were very friendly and professional. AC system works great now! I highly recommend their services if you need repairs. Tim