Why Your Dryer Could Be a Ticking Time Bomb
Learning how to remove lint from dryer systems isn't just about keeping your clothes looking good - it's about preventing one of the most common causes of house fires in America. According to research, the accumulation of dryer lint can leave you with a poorly functioning dryer and even the possibility of a house fire.
Quick Answer: How to Remove Lint from Your Dryer
- Clean the lint screen after every load by rolling lint off with your fingers
- Vacuum the lint trap compartment using a crevice tool attachment
- Deep clean the dryer vent annually by disconnecting the duct and using a specialized brush
- Clean the dryer drum interior with mild detergent and lint-free cloths
- Check exterior vents for blockages and remove debris
Most homeowners only clean the visible lint screen, but hidden lint buildup in vents and ducts creates the real danger.
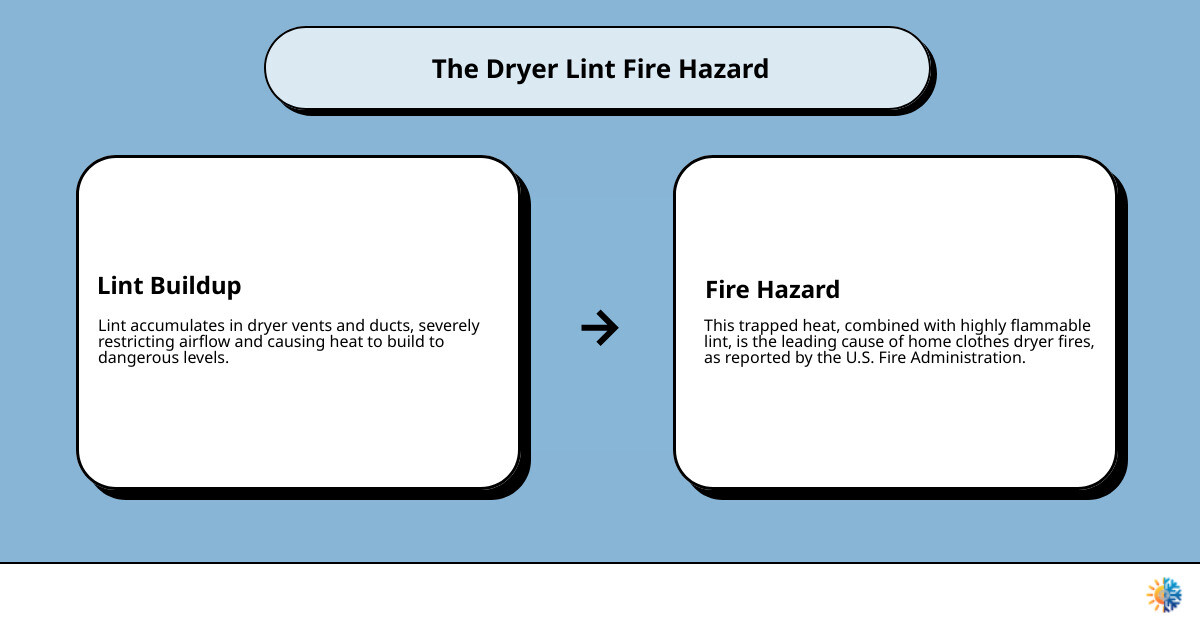
If your clothes are taking longer to dry, your dryer feels unusually hot, or you notice a burning smell, you likely have dangerous lint accumulation beyond just the screen. The U.S. Fire Administration reports that failure to clean the dryer is the leading cause of home clothes dryer fires.
The good news? With the right tools and techniques, you can safely remove hidden lint yourself and dramatically reduce your fire risk while improving your dryer's efficiency.

Why Cleaning Dryer Lint is a Non-Negotiable Chore
That innocent-looking pile of lint you pull from your dryer screen is just the tip of the iceberg. The real danger is what you can't see: the lint quietly building up inside your dryer's vent system, creating a risk of fire, wasted energy, and appliance damage.
Fire prevention should be your number one motivation to remove lint from dryer systems regularly. Lint is incredibly flammable. When it accumulates near your dryer's heating elements or in vent ducts, it only takes one spark to ignite a house fire. The U.S. Fire Administration reports that failure to clean dryers causes thousands of home fires every year.
When lint clogs your dryer's airflow, it has to work harder, run longer, and use significantly more energy to dry clothes. This translates to higher utility bills. The constant strain also shortens your dryer's lifespan, leading to expensive repairs or premature replacement.
Poor dryer performance isn't just annoying—it's a clear warning sign. When your dryer suddenly starts leaving clothes damp after a full cycle, lint buildup is usually the culprit.
For comprehensive guidance on maintaining your dryer's ventilation system, check out this detailed guide on dryer vent cleaning and our resource on Dryer Vent Cleaning for Home Safety.
Telltale Signs Your Dryer Vent is Clogged
Your dryer is good at telling you when it needs help. These warning signals are your early alert system.
Clothes taking longer to dry is usually the first red flag. If your typical 45-minute load now needs an hour or more, restricted airflow from lint buildup is likely the cause.
A dryer that's hot to the touch is crying out for attention. If it's uncomfortably hot after a cycle, heat isn't escaping properly through the vent. This overheating damages your dryer's components and creates serious fire risk.
Any burning smell should stop you in your tracks. Even a faint odor means lint is scorching somewhere in your system. Unplug the dryer immediately if you notice this.
Visible lint around your exterior vent is a dead giveaway. If you see lint accumulation outside or the vent flaps won't open when the dryer runs, you've got a blockage.
Increased humidity in your laundry room suggests moisture isn't being expelled outside properly. Your laundry room shouldn't feel like a sauna during drying cycles.
Error codes on newer dryers are modern machines' way of telling you what's wrong. Many can detect airflow restrictions and will display specific codes when vents need cleaning.
If any of these signs sound familiar, it's time to move beyond just cleaning the lint screen and tackle the deeper cleaning your dryer system needs.
How to Remove Lint from Your Dryer: A Step-by-Step Guide
Cleaning your dryer thoroughly is a manageable DIY project that can save you money and ensure your home's safety. This guide will walk you through how to remove lint from dryer internals and vents.
Before we begin, a crucial safety note: Always unplug your dryer before performing any cleaning beyond the lint screen. For gas dryers, you'll also need to turn off the gas supply valve. If you're unsure how to do this or uncomfortable working near gas lines, please call a professional.
Tools and Materials You'll Need
Gathering your supplies beforehand will make the process much smoother. Here's what we recommend:
- Vacuum cleaner with attachments: A powerful shop vac is ideal, but a regular household vacuum with a crevice tool and hose extensions will also work.
- Dryer vent brush kit: These kits typically include long, flexible brushes with extensions designed to reach deep into your dryer ductwork.
- Screwdriver: You might need this to loosen clamps on the dryer duct or remove access panels.
- Gloves: To protect your hands from dust and lint.
- Mask: A dust mask is highly recommended, as cleaning can stir up a lot of lint and debris.
- Microfiber cloths: For wiping down surfaces.
- Dish soap (like Blue Dawn) and warm water: For deep cleaning the lint screen.
Step 1: How to remove lint from the dryer screen and trap compartment
This is where we start. While you should clean the lint screen after every load, there's more to it than just pulling off the visible fluff.
First, remove the lint screen from its slot. Gently roll the lint off with your fingers and dispose of it. Avoid rinsing the screen for daily cleaning, as wet lint is hard to remove.
Now, tackle the often-overlooked lint trap compartment. This is the cavity where the lint screen sits. Over time, lint can fall into this space and accumulate.

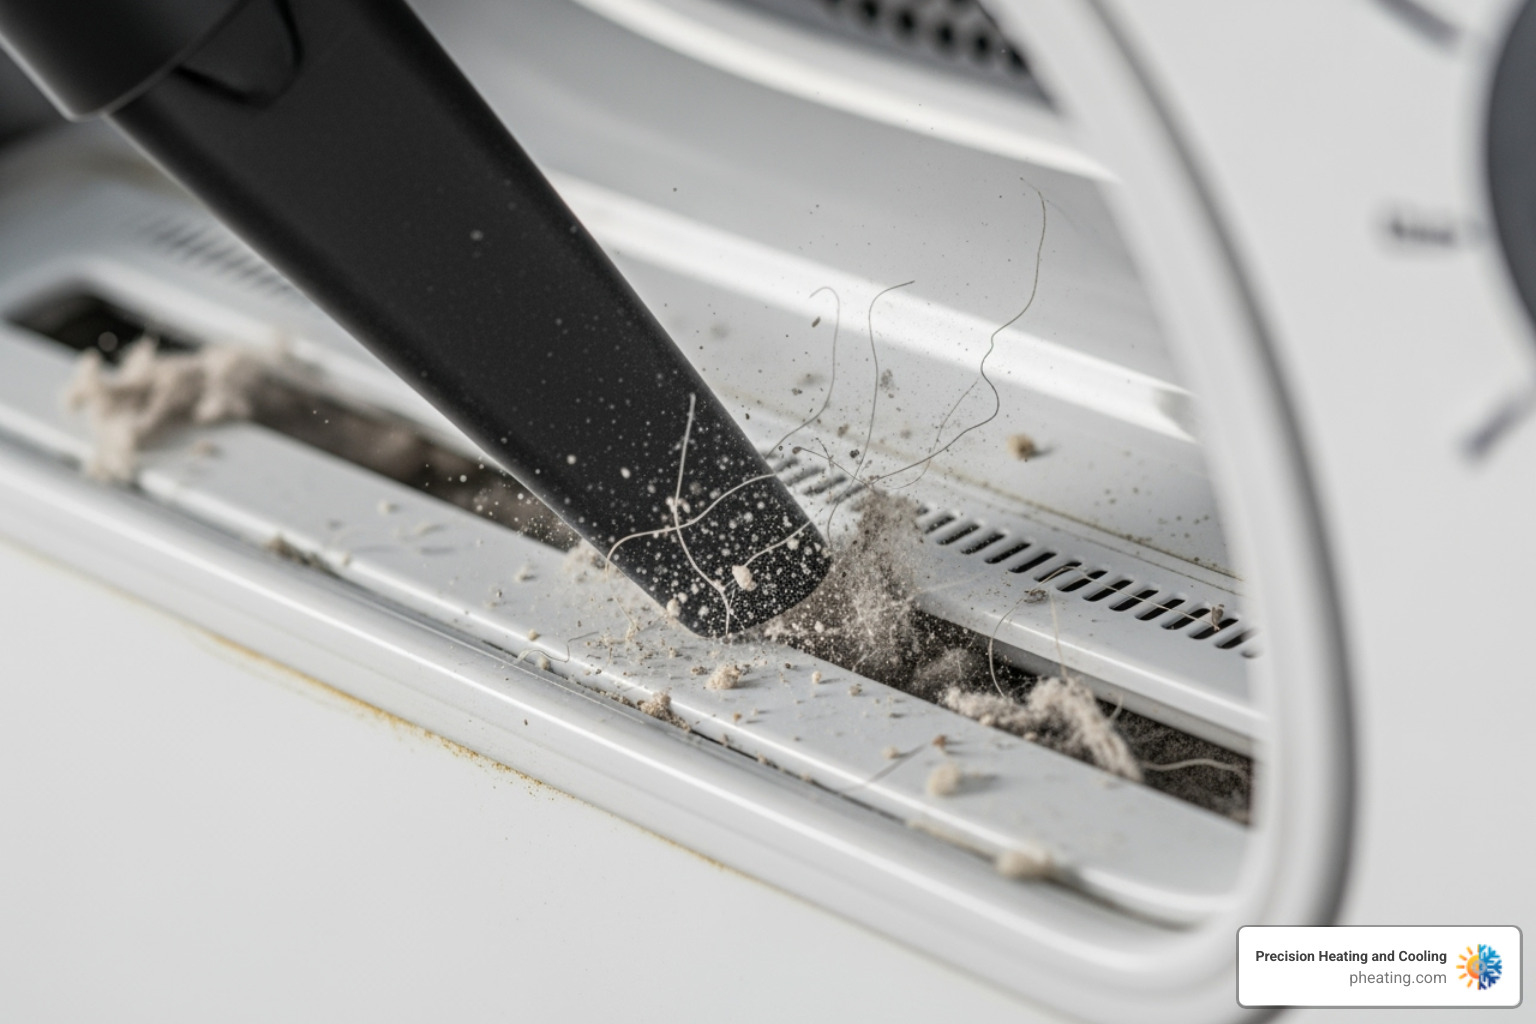
Use your vacuum cleaner with the crevice tool to reach down into the lint trap slot and suction up any loose lint. You might be surprised how much hidden lint you find here!
Every few months, or if you notice residue from dryer sheets, it's time for a deeper clean of the lint screen. Wet both sides of the screen with hot water. Wet a nylon brush with hot water and a few drops of liquid detergent. Gently scrub the lint screen to remove any residue. Rinse thoroughly with hot water, and then dry the screen completely with a clean towel before reinserting it. For more detailed instructions on cleaning your lint screen, you can refer to More on cleaning the lint screen.
Step 2: Deep Cleaning the Dryer Vent and Duct
This is where most of the dangerous lint accumulates. Your dryer's vent system is like its exhaust pipe, and it can get clogged.
Disconnecting the Duct: First, ensure your dryer is unplugged (and gas supply off, if applicable). Carefully pull your dryer away from the wall. Loosen the clamp that secures the duct to the dryer and the wall, and carefully detach it.
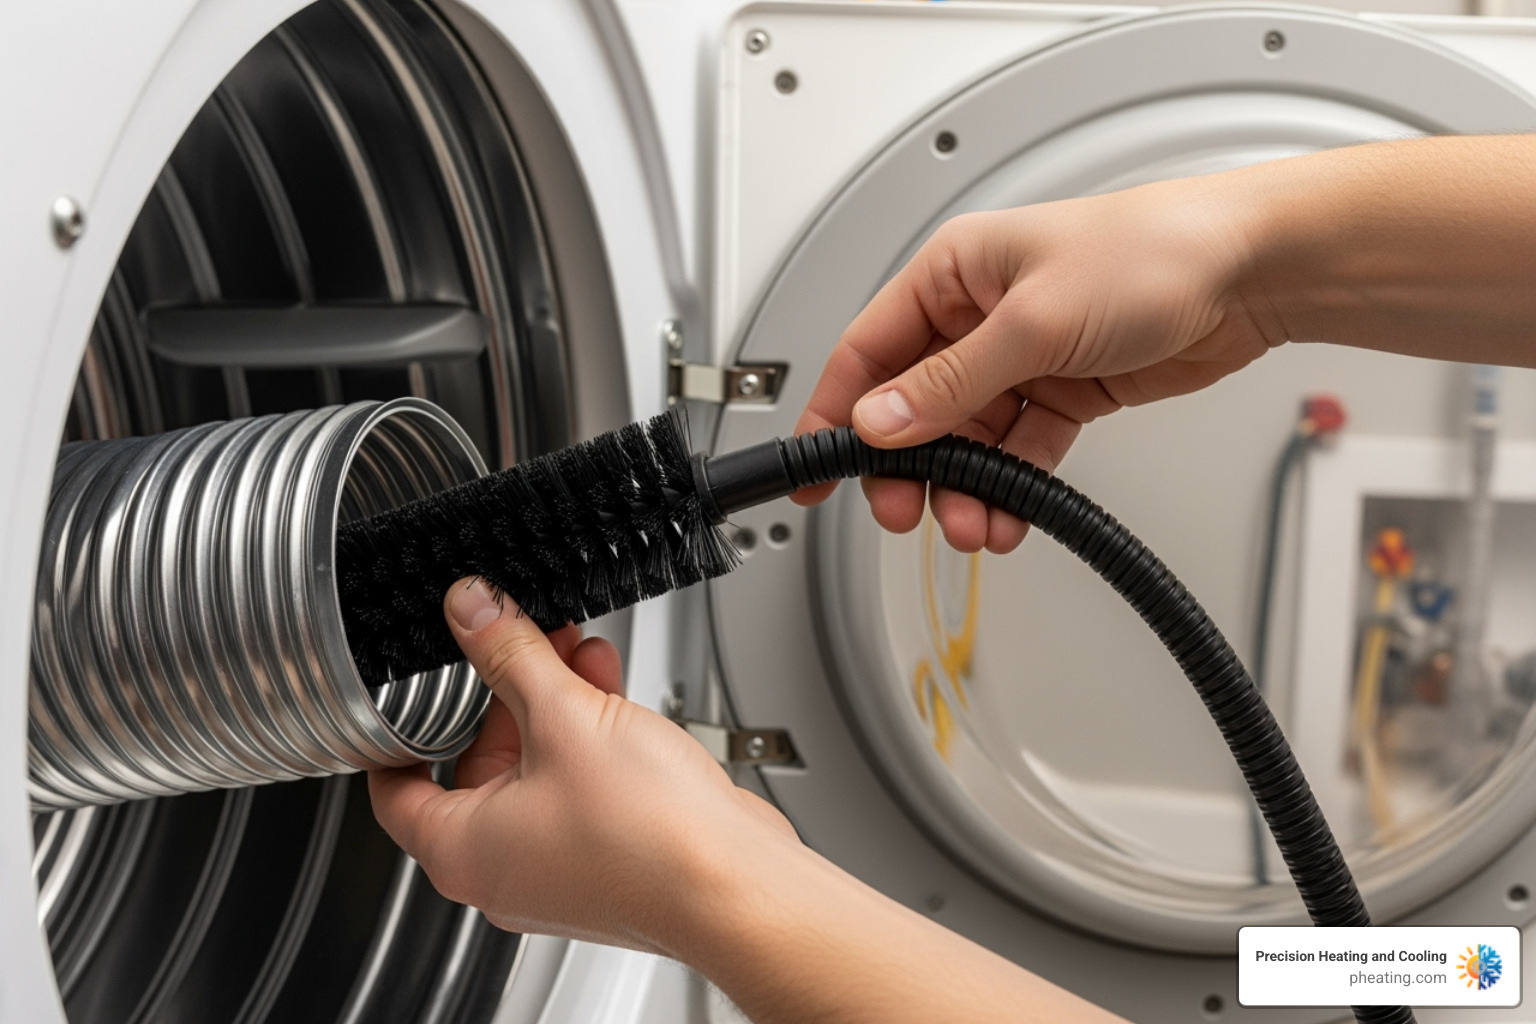
Cleaning from Inside: With the duct disconnected, use your vacuum to clean out the opening at the back of your dryer. Then, grab your dryer vent brush kit. Feed the flexible brush into the disconnected duct, adding extensions as needed, to dislodge lint from the entire length. As you push the brush through, use your vacuum to suck up the loosened lint. You might be amazed by the sheer volume of lint that comes out!

Dryers are designed to push air about 20-25 feet. Each 90-degree elbow in your ductwork is equivalent to about 5 feet of straight vent in terms of airflow resistance. If you have a long or convoluted vent run, it's even more crucial to clean it regularly. Flexible plastic or foil ducts are more prone to crimping and lint accumulation than rigid metal ducts; consider replacing them for better safety and efficiency.
Cleaning the Exterior Vent: Head outside to locate your exterior dryer vent. Remove any cover or screen. Use your vacuum or a smaller brush to clean out any lint that has accumulated there. Ensure the flaps on the exterior vent move freely. Pest screens on exterior vents can also trap lint and become a fire hazard, so clean them very frequently or consider removing them.
Once everything is clean, inspect the ductwork for damage. Reconnect the duct securely, push your dryer back into place, plug it in, and restore the gas supply if necessary.
For those in the San Jose area and surrounding communities like Cupertino, Los Gatos, Palo Alto, Santa Clara, Sunnyvale, and Hanford, California, we at Precision Heating and Cooling offer professional dryer vent cleaning services. Sometimes, the job requires specialized tools, especially for complex vent systems. You can learn more about our services here: Dryer Vent Cleaning San Jose.
Step 3: Cleaning the Dryer Drum Interior
While the trap and vent are the primary concern, the inside of your dryer drum also benefits from a good cleaning. Residue from fabric softeners, detergents, or stray items can leave marks or films on the drum's surface.
To clean the dryer drum interior:
- Disconnect power to the dryer first.
- Wipe the drum interior with a damp, lint-free cloth and a solution of mild dish soap and warm water.
- Clean the drum fins or baffles (the raised parts inside the drum) thoroughly.
- For stubborn residue and stains:
- Ink Stains: Use rubbing alcohol on a cloth to gently rub the stain until it lifts.
- Dye Stains: If a non-colorfast item has left dye behind, try a solution of equal parts water and bleach on a cloth. Apply sparingly and rinse thoroughly.
- Wax or Gum Residue: Apply ice to harden the residue. Once brittle, carefully scrape it off with a plastic scraper and wipe the area with a soapy cloth.
- Rinse and Dry: After cleaning, wipe down the entire drum with a clean, damp cloth to remove soap residue, then dry thoroughly with a lint-free towel.
A clean dryer drum ensures your clothes come out fresh and contributes to more efficient drying. Just as we recommend professional duct cleaning for your HVAC system to improve indoor air quality, maintaining your dryer's interior contributes to a cleaner laundry experience. Learn more about Professional Duct Cleaning for Indoor Air Quality.
Proactive Measures: How to Prevent Future Lint Buildup
Now that you know how to remove lint from dryer systems, let's talk about something even better: stopping the problem before it starts! While some lint is inevitable (after all, our clothes naturally shed fibers), we can dramatically reduce buildup with smart laundry habits and a few simple changes.
Think of lint as tiny fabric fragments that break free during the washing and drying process. New clothes are especially guilty culprits because loose manufacturing fibers haven't been washed away yet. Over-drying also stresses fabric fibers, causing them to break down and create more lint than necessary.
Shake out clothes before tossing them in the dryer. This simple 10-second habit removes loose fibers and lint that accumulated during washing. Plus, it helps clothes dry faster and with fewer wrinkles – a win all around!
Sort your laundry strategically. Here's a game-changer: separate lint producers from lint attractors. Towels, cotton underwear, and flannel are notorious lint creators, while synthetic fabrics, corduroy, and dark clothes act like lint magnets. Washing and drying these separately prevents that annoying transfer of fuzz from one garment to another.
Give your clothes room to breathe. Overloaded dryers create a lint nightmare. When clothes are packed too tightly, they rub against each other more, creating extra lint while preventing proper airflow. Your dryer works harder, your clothes take longer to dry, and more lint gets trapped in the system.
Try wool dryer balls – they're fantastic little helpers! These natural alternatives to dryer sheets separate clothes during the cycle, improving airflow and reducing drying time. They also soften fabrics naturally and reduce static cling, which attracts lint to clothes.
When possible, air dry your clothes. It's the gentlest method for your fabrics and completely eliminates dryer lint buildup. Hanging clothes on a line or rack saves energy and extends fabric life since there's no tumbling friction to break down fibers.
Don't forget about your washing machine! A dirty washer can actually contribute to lint problems. Hair and fabric particles can accumulate in the drum and rubber gaskets, especially in front-loading machines. Wipe down these areas regularly and run an occasional empty hot cycle with white vinegar to keep everything fresh.
Understanding Lint vs. Pilling
Sometimes what looks like a lint problem is actually pilling, and knowing the difference saves you time and frustration. Lint is loose fibers that stick to clothing – usually fuzzy, soft stuff that brushes off easily with a lint roller or damp cloth. It often comes from other garments and can be different colors than your clothes.
Pilling, on the other hand, forms when a garment's own fibers break and tangle together into small, stubborn balls. These rough little bumps typically appear in high-friction areas like under the arms and feel attached to the fabric. You'll need a fabric shaver or de-fuzzing tool to remove them, not just a lint roller.
For lint removal, stick with lint rollers, masking tape, or lightly dampened dryer sheets. For pilling, invest in a good fabric shaver – it's like a tiny lawn mower for your clothes!
Prevention strategies differ too. To prevent lint, focus on cleaning your dryer system and separating laundry types. To prevent pilling, turn delicate garments inside out before washing, use gentle cycles, and choose tightly woven fabrics when shopping for new clothes.
Understanding this difference helps you tackle fabric care issues with the right tools and techniques, keeping your clothes looking their best while ensuring your dryer runs safely and efficiently.
Frequently Asked Questions about Dryer Lint Removal
Here are answers to the most common questions we get about dryer lint removal.
How often should I clean my dryer's lint trap and vent?
The cleaning frequency depends on the part of the dryer and your usage habits.
The lint trap screen needs cleaning after every single load. This simple habit is crucial for preventing fires and keeping your dryer efficient.
The lint trap compartment (the slot where the screen sits) should be vacuumed every 6 months. If you do multiple loads daily or have pets, clean it every 3-4 months to remove lint that gets past the screen.
Your dryer vent ductwork needs a thorough deep cleaning at least once a year. For heavy users, this should be done twice a year. This is where the most dangerous lint builds up.
For more insights on maintaining this schedule, check out our guide on Regular Dryer Vent and Chimney Cleaning.
What's the best way to remove lint from clothes before washing?
There are several effective methods to get your clothes looking fresh again.
Lint rollers are a classic go-to. Masking tape wrapped around your hand sticky-side out is also a great substitute.
A slightly damp scouring pad works wonders on darker fabrics and wool. Be sure it's only barely damp so it grabs the lint without soaking the clothes.
For prevention, wash clothes inside-out to protect the outer surface from friction. Also, separate your lint producers (towels, cotton) from your lint attractors (synthetics, delicates). Your black clothes will thank you.
We advise against adding white vinegar to the rinse cycle, as most washing machine manufacturers warn it can damage seals over time.
Can I use a leaf blower to clean my dryer vent?
We understand the appeal of this idea, but we strongly advise against it. Using a leaf blower can create serious problems.
The biggest issue is that leaf blowers can compact lint instead of removing it, creating a denser blockage that's even harder to remove.
There's also a real risk of damaging your ductwork, especially flexible ducts. A tear can vent hot, moist, lint-filled air into your wall cavities, leading to mold, structural damage, and fire hazards.
Professional methods exist for a reason. Specialized brushes physically scrub lint off duct walls, while powerful vacuums safely remove the debris. It's a methodical and safe process.
If you're in the Santa Clara area and thinking about tackling a complex vent cleaning job, we'd love to help. Our team knows how to safely and effectively clear your ventilation system. You can learn more about our Dryer Vent Cleaning Santa Clara CA services.
When it comes to removing lint from dryer systems, the best tool is the right one for the job—not necessarily the most powerful one.
Conclusion: A Simple Task for a Safer, More Efficient Home
When you take a step back and look at everything we've covered, it's pretty amazing how such a simple task can make such a big difference in your home's safety and efficiency. Learning how to remove lint from dryer systems isn't rocket science, but it's one of those home maintenance tasks that truly pays dividends.
Think about it: spending just a few minutes after each load to clean your lint screen, and dedicating one afternoon a year to deep-clean your dryer vents, can prevent catastrophic house fires. It can slash your energy bills by helping your dryer work more efficiently. And it can add years to your appliance's life, saving you from the headache and expense of premature replacement.
The fire safety aspect alone should be motivation enough. When we consider that failure to clean dryers is the leading cause of home clothes dryer fires, those few minutes of maintenance suddenly seem like the best investment we can make. But the energy savings are pretty sweet too – nobody likes seeing their utility bills climb because their dryer is working overtime to push air through a lint-clogged vent.
Most importantly, there's genuine peace of mind that comes from knowing you've taken control of this hidden danger in your home. Every time you hear your dryer running efficiently, drying clothes in normal time without overheating, you'll know you've done something important for your family's safety.
We've walked through the DIY steps that most homeowners can handle confidently, from cleaning the lint trap compartment to using brush kits on accessible vent runs. But let's be honest – some dryer vent systems are just plain tricky. Maybe your vent runs through multiple walls, up through the roof, or around several corners. Perhaps you're dealing with an older home where the ductwork is hard to reach, or you simply don't feel comfortable disconnecting gas lines.
For those complex or hard-to-reach situations, professional service isn't just recommended – it's the smart choice. Here in the San Jose Bay Area and Central Valley, our team at Precision Heating and Cooling has been helping homeowners tackle these exact challenges for over two decades. We have the specialized tools, experience, and know-how to safely and thoroughly clean even the most complicated dryer vent systems.
Don't let this important safety task slide just because it seems overwhelming. Whether you tackle it yourself or call in the pros, the important thing is getting it done. If you're ready to schedule professional service and want the peace of mind that comes with expert care, we'd love to help. You can schedule your professional dryer vent cleaning service in San Jose and let us handle the technical stuff while you enjoy the benefits of a safer, more efficient home.

Flexible payment options to make your goals affordable and stress-free.

Seamless Heater Installation in Clovis, CA: A Local's Handbook

Cool Comfort, Warm Savings: A Local's Guide to Heat Pump Installation in Los Gatos


.avif)


.avif)