.avif)


Recent Blogs
Stay updated with our latest blog posts.

Heat pump troubleshooting doesn't have to be overwhelming. When your system won't turn on, isn't heating or cooling properly, or is making strange noises, most issues can be diagnosed step-by-step.
Quick Heat Pump Troubleshooting Checklist:
Heat pumps are highly efficient, delivering 1.5 to 3 times more heat energy than the electrical energy they consume. But when they malfunction, the symptoms can be confusing. Many problems have simple DIY solutions, while others require professional expertise. Knowing the difference saves you time and money.
As Tony Lara from Precision Heating and Cooling, I've helped countless Bay Area homeowners with heat pump troubleshooting. My experience shows that the right knowledge and a good maintenance routine can prevent most issues.

When your heat pump acts up, don't panic. Many issues have simple, safe DIY fixes. These five heat pump troubleshooting steps can often get your system running again without a service call.

Your thermostat controls the entire system, and incorrect settings are a common culprit.
A heat pump has an indoor and an outdoor unit, and both need power.
A dirty air filter is one of the most common causes of heat pump problems. It restricts airflow, forcing your system to struggle and leading to poor performance or even freezing.
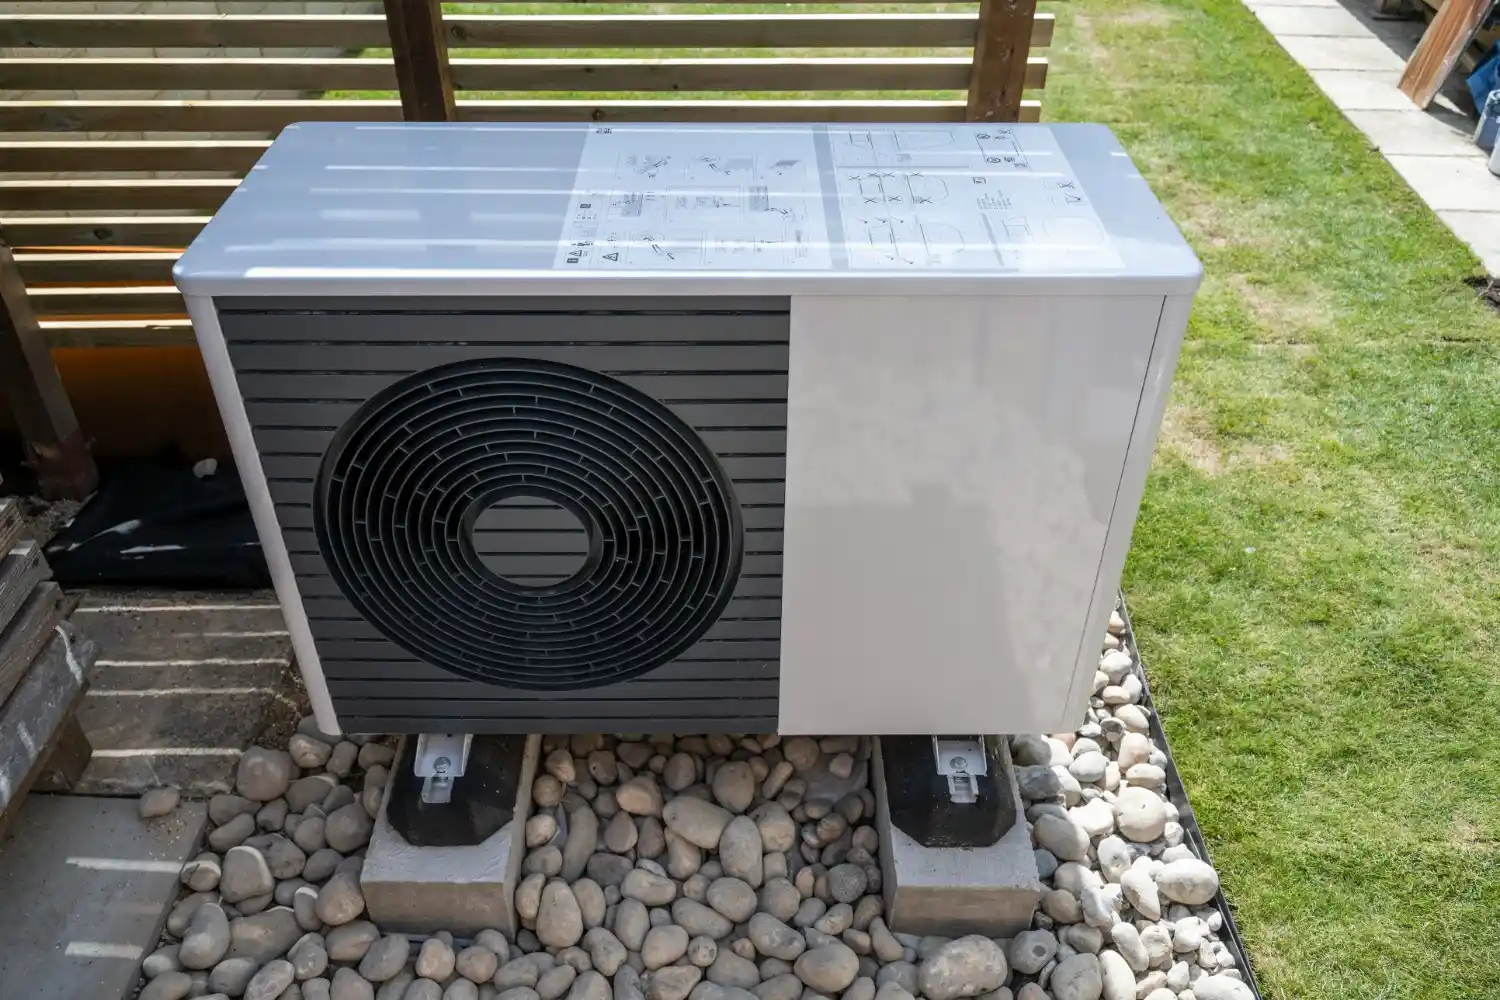
Your outdoor unit needs clear space to function correctly.
Like rebooting a computer, a system reset can clear minor electronic glitches.
If the system still doesn't work, it's time for more advanced troubleshooting.
For effective heat pump troubleshooting, you must distinguish normal behavior from real problems. Heat pumps act differently than furnaces, especially in cold weather. Understanding these unique operations can prevent unnecessary panic and service calls.
It's normal for your heat pump to run almost continuously when outdoor temperatures are below 40°F. This isn't a malfunction; it's working hard to extract heat from the cold air. Unlike a furnace that burns fuel, a heat pump moves heat. As it gets colder outside, there's less heat to move, so the system runs longer to maintain your set temperature. The air from your vents may also feel lukewarm (90-95°F), not hot like from a furnace. This is normal and still heats your home effectively.
Seeing frost or light ice on your outdoor unit on a cold day is expected. The system handles this with an automatic defrost cycle. It temporarily reverses operation to send warm refrigerant to the outdoor coil, melting the ice. During this 5-15 minute cycle, you may hear a whooshing sound and see steam rising from the unit. The indoor fan often stops to prevent blowing cool air inside.
When to worry: You may have a real issue if the unit is encased in thick ice that never melts or if it defrosts too frequently (e.g., every 15 minutes). These are signs of Heat Pump Defrost Cycle Problems.
The "AUX Heat" or "EM Heat" light on your thermostat means your backup heating system is active, usually electric resistance strips.
Be aware: both AUX and EM heat use significantly more electricity than your heat pump, leading to higher energy bills.
If the basic checks fail, it's time for deeper heat pump troubleshooting. Your system's symptoms are clues that point to the root cause, which typically falls into airflow, mechanical, or electrical issues.

If the system is completely unresponsive, check for these issues after confirming power:
If the fans are running but the air isn't the right temperature, consider these causes:
A light layer of frost in winter is normal, but a solid block of ice is a problem.

Important: Never use sharp objects to chip ice off your unit. You can easily damage the delicate coils. If you must, gently spray it with a garden hose, then call a professional to fix the underlying cause.
Both patterns—starting and stopping too frequently (short cycling) or never shutting off—signal inefficiency and potential problems.
Water pooling around your indoor unit is usually caused by a drainage problem.
The best heat pump troubleshooting is prevention. Like a car, your heat pump needs regular maintenance to avoid inconvenient and costly breakdowns. Homeowners who stick to a maintenance schedule rarely face major issues.

A few simple DIY tasks can significantly improve your system's performance and lifespan.
While DIY tasks help, they don't replace a professional tune-up. We recommend annual service, ideally twice a year (once in spring, once in fall).
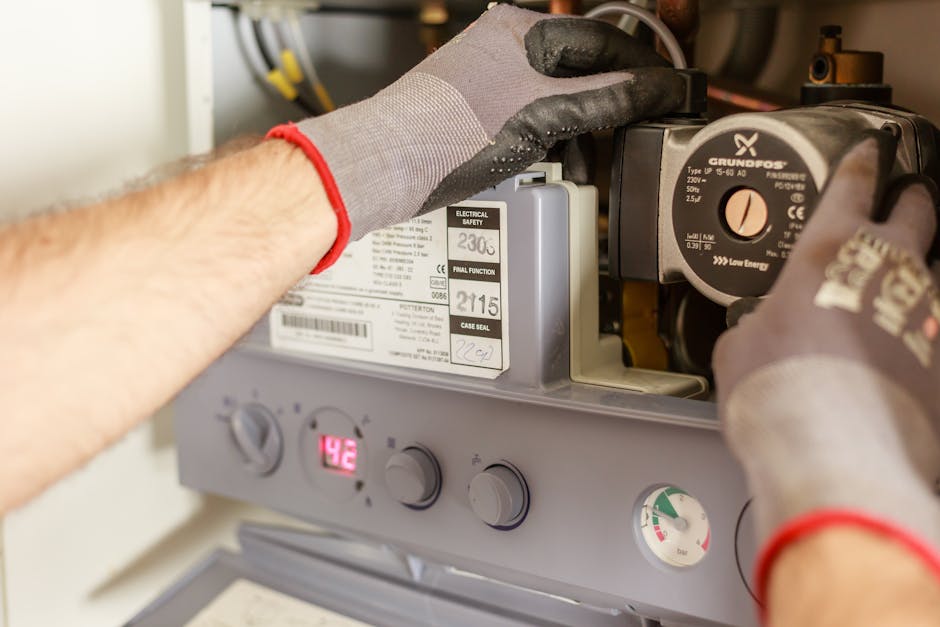
A technician performs tasks you can't, including:
Professional maintenance extends your system's life, maintains efficiency, and is often required to keep your warranty valid. The Benefits of Regular Heat Pump Maintenance are significant.
The most important part of heat pump troubleshooting is knowing your limits. Some repairs are not safe for DIY and require a professional to avoid injury or further damage.
If the basic checks didn't work, it's time to call a professional. Contact us immediately for these issues:
Safety is paramount. Follow these rules:
To help us fix your system faster, you can prepare for our visit:
When your heat pump fails, it's stressful. Fortunately, many issues can be resolved with the simple heat pump troubleshooting steps we've covered. However, some problems require a professional, and that's when a trusted HVAC partner is essential.
At Precision Heating and Cooling, we've served the Bay Area and Central Valley for over two decades. Our experience in communities like San Jose, Cupertino, Los Gatos, Clovis, Palo Alto, Santa Clara, Sunnyvale, and Hanford means we understand the unique challenges of local homes.
The key to a reliable system is proactive maintenance, not just reactive repairs. We empower homeowners with knowledge while providing reliable service, competitive pricing, and flexible payment options when you need us for a tune-up or an emergency repair.
Your home comfort shouldn't be a gamble. Combine your DIY knowledge with our professional expertise to keep your heat pump running efficiently for years to come.
Ready to ensure your heat pump stays in peak condition? For expert heating repair in San Jose, CA, contact our team today! We're here to help you maintain that perfect balance of comfort and efficiency.

Leslie was amazing for her outstanding customer service skills with me the other day. Thanks to her help my air conditioner is now all set up. She answered all my questions and took away all my problems. Leslie broke it down step by step to set it up easier. Now thanks to her my air conditioner is working perfectly. I really appreciate it Leslie and I’ll be sure to ask for you if I ever come back.
I contacted Precision Heating and Cooling for my home's AC repair. They were punctual and very professional. Guillermo was very kind and thorough. I would highly recommend them!
I am writing to express my sincere appreciation for the excellent work performed by Pablo and Alejandro from Precision Heating and Cooling. Their commitment to quality and customer satisfaction is truly commendable. Awesome job guys!
I would like to extend my sincere gratitude to Alejandro for his exceptional hard work. His passion for helping others is evident, and he consistently goes above and beyond in his service. Alejandro's thorough cleaning of my fireplace has truly made a significant difference. His dedication and professionalism are greatly appreciated.
I was very impressed. Came at night (after 9pm) to fix our AC during the middle of a heat wave the day before a national holiday! Technician was very courteous and efficient, got the job done quickly. Will definitely call them again for any AC servicing I need!
Fast and efficient, arrived when scheduled for repairs and replacement parts were ordered and installed quickly. Techs were very friendly and professional. AC system works great now! I highly recommend their services if you need repairs. Tim